Hello World! 👋 my name is Francisco, fcoterroba on the Internet and today I bring you a post in which I am going to show the first steps when we take a MacOS or start programming in Swift. (Not Objective-C).
Recently, I am studying a kind of bootcamp co-financed with the European Union and the Government of Andalusia in which we are studying several very modern technologies. We start with mobile development on Android, iOS and React Native. This week we will continue with 5G and later we will continue with Business Intelligence, Agile Architectures, Big Data, Artificial Intelligence, Robotics, Deep Learning, etc. Very complete.
And, that is why currently, during the two weeks that the Swift module lasts, I have a MacOS.
I've been tinkering with it and MacOS is definitely not for me. It has very good things but also very bad things. I'm not going to go into the details of each one, this is a computer science blog, not a hate blog.
Before starting, although later I will explain what it is, I will I recommend visiting a post that I uploaded more than a month ago, in which I explain many of the most used computer terms in our day to day. Since, in this post, you will see words that you probably do not sound a lot. 🤯 You can reed the post here.
I also want to remind you that a few months ago I uploaded a video to my YouTube channel, very interesting, focused on home automation. Specifically, we connect, configure and install a smart light bulb 💡 with which you can change its color, turn it off, turn it on and much more simply by using your mobile phone and/or voice assistants such as Google, Alexa, etc. 👇🏻
Now yes, let's start 👇
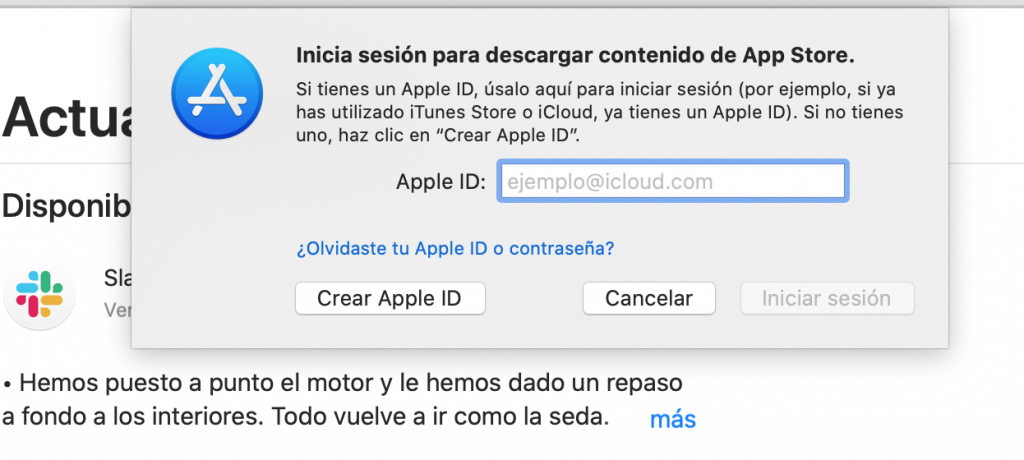
The first thing we must do is create an AppleID account within the App Store, since Apple does not allow you to use and enjoy its devices without being within its bubble.

Once we create an account with them, we are going to download the well-known XCode.
XCode is the only IDE that allows Apple to make total use of the developments in its ecosystem.
This means that, even if you can write Swift code in VSCode, Sublime Text or NetBeans, you will never have all the capabilities that XCode offers because, we know, like Apple.
After this rant towards Apple and the installation of the IDE, we are going to open it for the first time and now, yes, we are going to program. 👨💻
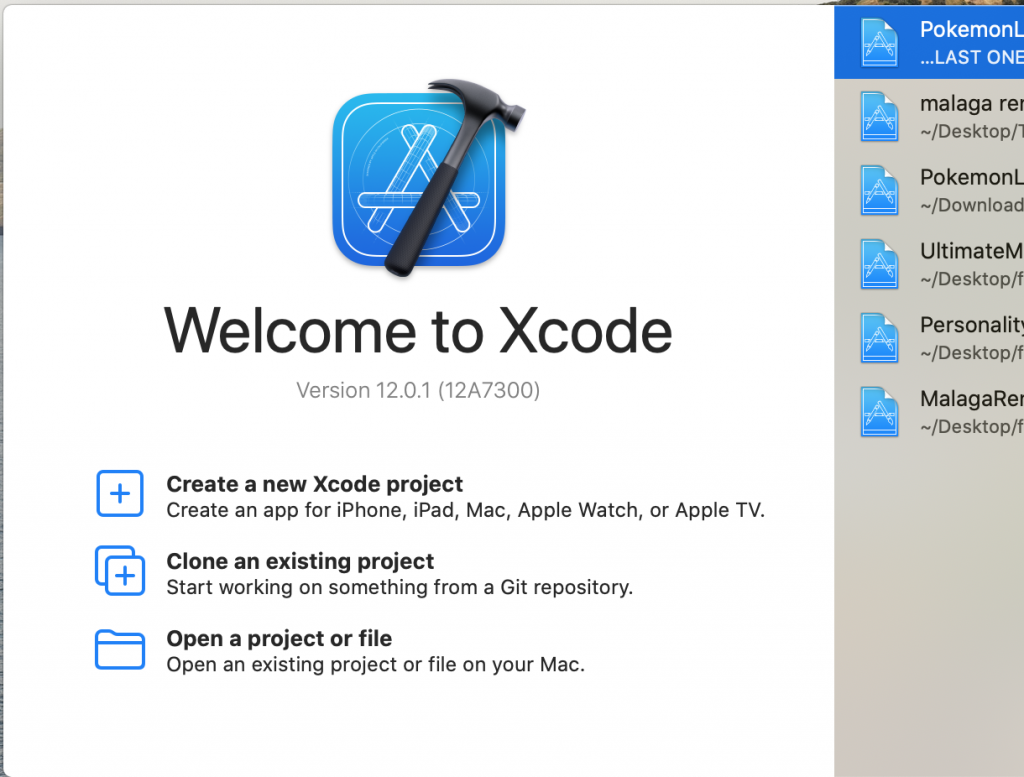
This 👇 is the home screen of the program. As we see, a very calm, calm home screen and of course, with the company's light colors.

From this first screen we can open our recent projects, create a new one, clone directly from a github or gitlab repository or, of course, open an existing and downloaded project.
But, in XCode we differentiate two parts of projects. Playground and project.
Playground
The playground, as its name suggests, is a playground, it is a place to bug, try and play.
Here we are not going to have iPhone, iPod or iPad emulators.
Here we are going to have a blank space where we can write our code, without a graphical interface, playing only with the terminal.
Basics in Swift
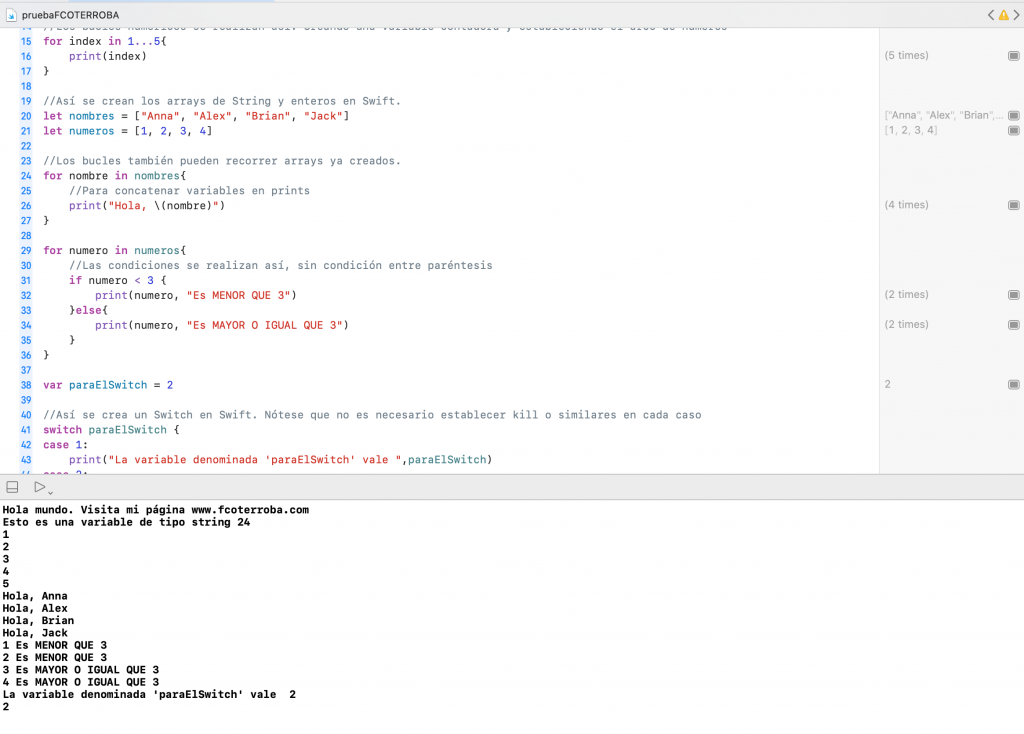
I leave you below, a very simple code made from Playground in which I show the most basic elements in any programming language.

import UIKit //Paquete que por defecto siempre vamos a necesitar

//Así imprimimos por pantalla
print("Hola mundo. Visita mi página www.fcoterroba.com")

//Así se crean variables, NO es necesario establecer el tipo
var x = "Esto es una variable de tipo string"
var y = 24
print(x, y)

//Así se crean constantes
let constant = 99

//Los bucles numéricos se realizan así. Creando una variable contadora y estableciendo el arco de números
for index in 1...5{
    print(index)
}

//Así se crean los arrays de String y enteros en Swift.
let nombres = ["Anna", "Alex", "Brian", "Jack"]
let numeros = [1, 2, 3, 4]

//Los bucles también pueden recorrer arrays ya creados.
for nombre in nombres{
    //Para concatenar variables en prints
    print("Hola, \(nombre)")
}

for numero in numeros{
    //Las condiciones se realizan así, sin condición entre paréntesis
    if numero < 3 {
        print(numero, "Es MENOR QUE 3")
    }else{
        print(numero, "Es MAYOR O IGUAL QUE 3")
    }
}

var paraElSwitch = 2

//Así se crea un Switch en Swift. Nótese que no es necesario establecer kill o similares en cada caso
switch paraElSwitch {
case 1:
    print("La variable denominada 'paraElSwitch' vale ",paraElSwitch)
case 2:
    print("La variable denominada 'paraElSwitch' vale ",paraElSwitch)
case 3:
    print("La variable denominada 'paraElSwitch' vale ",paraElSwitch)
case 4:
    print("La variable denominada 'paraElSwitch' vale ",paraElSwitch)
default:
    print("La variable denominada 'paraElSwitch' no vale ninguno de los valores anteriores.")
}

//Función que devuelve algo
func exampleFunction() -> Int{
    return (2)
}

//Función vacía
func exampleVoidFunction(){
    var variableFunction = 4
}
print(exampleFunction())
Project
Now let's get to the really interesting part, the reason why you probably came to this post.
Let's do a small project in Swift. With its graphic and responsive interface for all the company's devices.
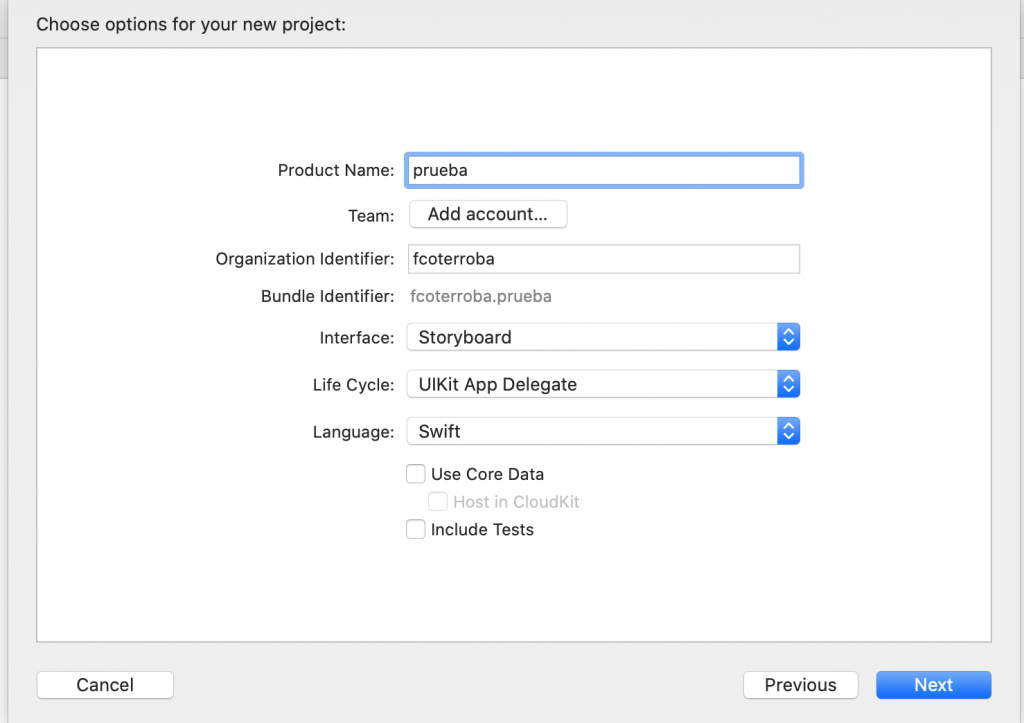
When we create a new project it asks us what template we are going to use. In 99% of cases, we will use an empty one. Then, we write the corresponding properties like this 👇

Once created, we can now do everything we want to program for Apple. It is very simple, and with what you have previously learned, you can start doing things very quickly. Swift actually has a very good pro and that is that its learning curve is practically instantaneous.
And guys, the farewell has arrived, that's all for today! I hope you liked it and it has been of great use to you! 🤓 See you here very soon and you already know that you can follow me on Twitter, Facebook, Instagram and LinkedIn. 🤟🏻