Hello world 👋, my name is Francisco, fcoterroba on the internet and today I come to bring you a project that you like so much because we put aside all the theory that we already know (or should know) and we put this theory into action to make a practical project.
With this, we know, that we fatten our CV NOT only with knowledge and titles (regulated and non-regulated) but we also have projects that could be perfectly real and valid in any company in the sector.
Today we are going to do a medium level project on Go (GoLang), the famous programming language developed by Google in 2009. We are not going to go into much more detail about the language because, if you want to learn more about how it came about and the first steps with this one, I recommend this other post I made some time ago
The project that we are going to carry out is a project in which we are going to make a static web with HuGo, a famous language library that allows us to make static webs in a very simple way.
I remind you that a while ago I uploaded a video to my YouTube channel in which I show the installation of some smart bulbs capable of being controlled using the Google assistant or mobile. Here is the video in case you haven't seen it yet:
Finally, before starting, I show you one of my latest videos that I made for TikTok. It is the 3rd part of a series of videos in which I show my favorite songs from this Eurovision 2023.
@fcoterroba Mis canciones favoritas de Eurovisión 2023 PARTE 3 #eurovision #eurovision2023 #fyp #parati @Eurovision @Eurovisión TVE @Piqued Jacks @TVORCHI ♬ original sound – fcoterroba
Now yes, let's start!
Tabla de contenidos
First step: Installing the environment
As with almost any programming project I usually do, the first and most important thing is to install the right environment. To do this, we must install Go following the instructions given in its own webpage and a code editor. I always use VSCodium.
Once we have done these two things, we will have all our equipment correctly configured to start programming. Simply, to make sure the correct installation of the language, we will open a terminal and write:
go version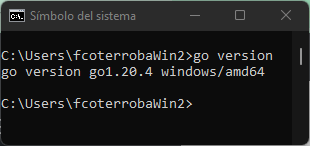
Second step: Initializing the project
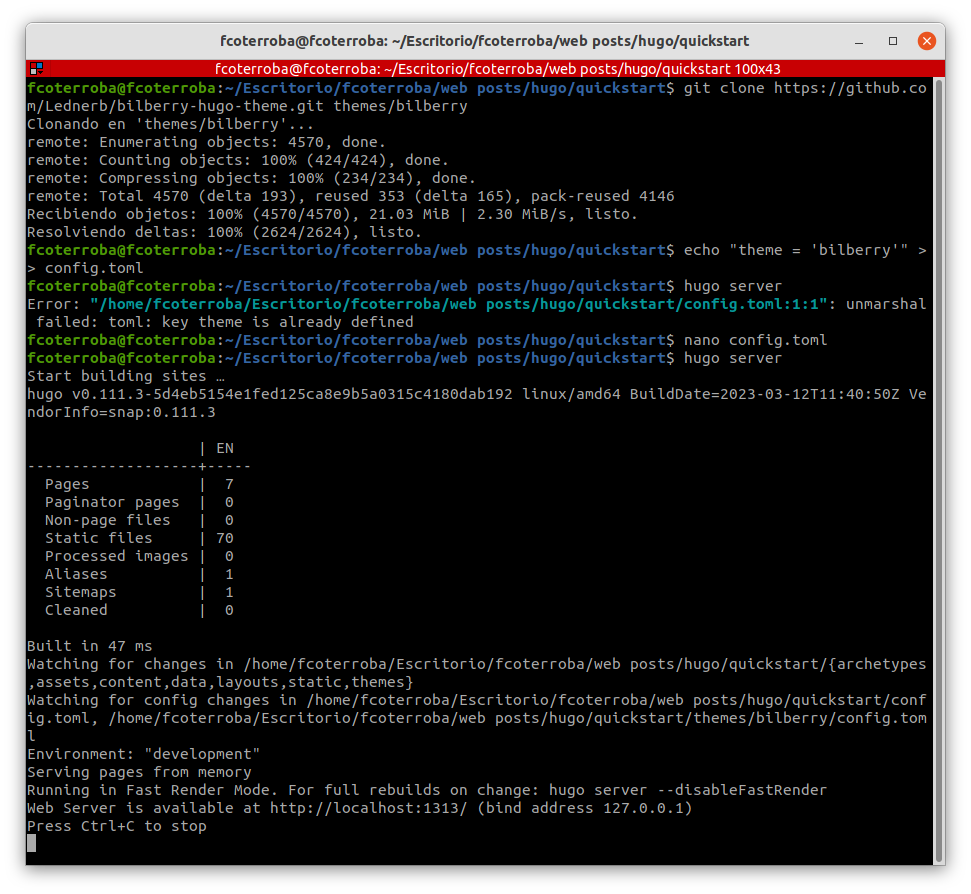
A continuación, como HuGo ya viene como una de las partes «básicas» del lenguaje, simplemente tendremos que realizar un quickstart, entrar en el directorio que nos crea e inicializarlo en git ya que posteriormente añadiremos algunos submódulos
hugo new site quickstart
cd quickstart
git init
Next, we choose some of the hundreds of themes that we have available on the page of Hugo. En mi caso cogeré «bilberry» clonándolo en el directorio themes y añadiendo esa configuración al archivo config.toml.
For last, with hugo server we can go up our website in a local way
Third step: Fill out the web with content
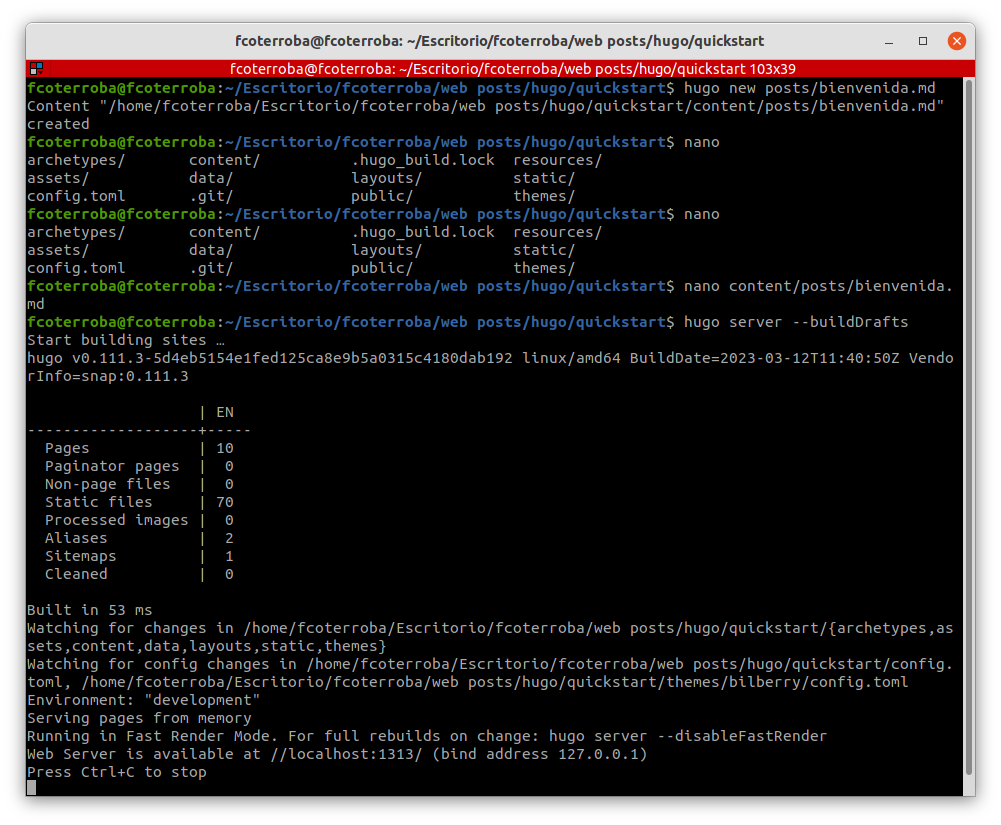
What would web pages in general be if they had no content?
Pues eso mismo, la parte que conllevaba más «programación» ya la hemos realizado, por lo que ahora, solo queda poner algunos posts en la página web.
To do this, we must create a new file using the command hugo new posts/nombrepágina.md edit the last command to serve up the server with the mark: buildDrafts
Last step: finalizing configurations
To finish, we save all the changes we have made, and that's it.
If, for example, we want to upload this so that it can be seen beyond the localhost, we simply upload the entire directory to a host like GitHub pages.
Take a look at the last steps we did in our post on the statci website with Python since the steps are the same.
And this has been all for today. Thank you for reaching the end, I hope you have served and liked it. See you soon!
You can contribute financially through Paypal. Any amount is well received! 🙂
I also hope you have a great week and see you here soon! A greeting and remember to follow me on the networks as Twitter, Facebook, Instagram, GitHub, LinkedIn and TikTok. 🤟🏻
Me encanta el post!
Yo justamente tengo mi blog en Hugo, lo migré de WordPress y fue maravilloso. Al principio me molestó bastante la parte de convertir todo a archivos Markdown, pero una vez hecho queda más versátil, te olvidas de gestionar bases de datos y logins, es más barato hostearlo en cualquier lugar, además los archivos Markdown también los puedes convertir en epub y pasarlos a un ereader para leerlos luego.
Si en aquel entonces hubiera sabido que Hugo existía, lo hacía directo ahí
Muchas gracias por el post, no hay mucho contenido de Hugo en español (A comparación de otras soluciones de blogging al menos).